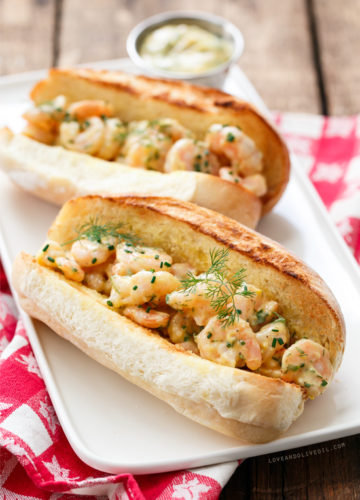
Shrimp Rolls with Herb Brown Butter Mayo
This is a poor-man’s lobster roll. Not that we’re poor, and not that shrimp is really all that cheap, but it’s a heckofa lot cheaper...
This is a poor-man’s lobster roll. Not that we’re poor, and not that shrimp is really all that cheap, but it’s a heckofa lot cheaper...

This is a summer sangria if I ever saw one. All that’s missing from this picture is a lounge chair and a warm summer breeze....
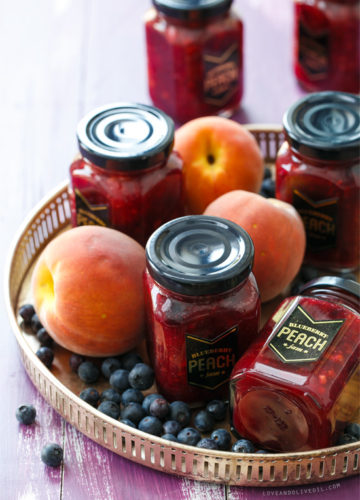
I’ve been hoarding fruit. We’ve been blueberry picking and peach picking and would have gone cherry picking if they grew here, so instead I bought...
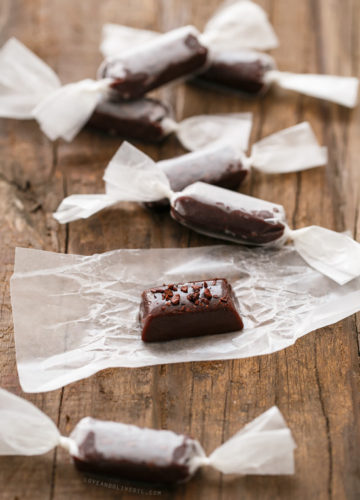
Isn’t it amazing to think, that just over a two years ago I was terrified of caramel? Like, honestly truly scared I was going to...
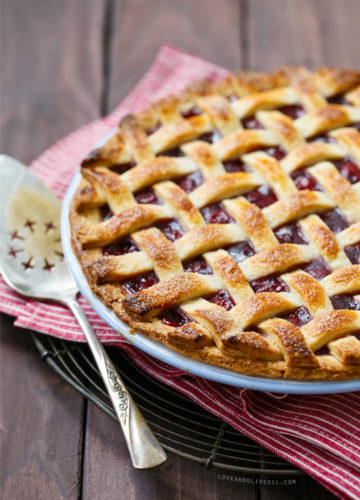
Cherry pie has always been one of my ‘bucket list’ recipes, along with caramel and macarons and other dishes that I’ve since tackled (or plan...
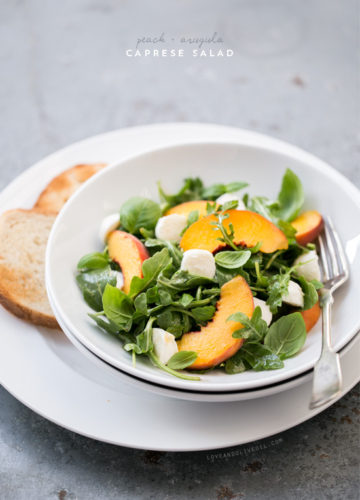
We most often associate caprese salad, or insalata caprese (literally meaning Salad of Capri, an island off the coast of italy) with tomatoes. And in...

Taylor and I recently celebrated our 5-year anniversary. Although we’ve been together for over 13 years, we still felt like 5 was something special, something...
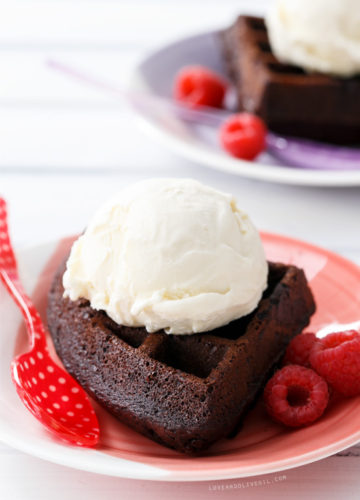
I’ve been obsessed with chocolate waffles for some time now, but hadn’t yet perfected the recipe. I wanted something crispy on the edges and tender...
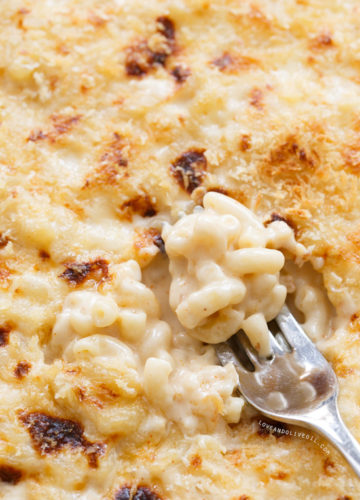
When it comes to making the ideal mac and cheese, you could say it’s all in the cheese. Or cheeses, because a mac and cheese...

Making tamales never really crossed my mind before, at least until I saw bags of corn husks in a local international market. Something lit up...
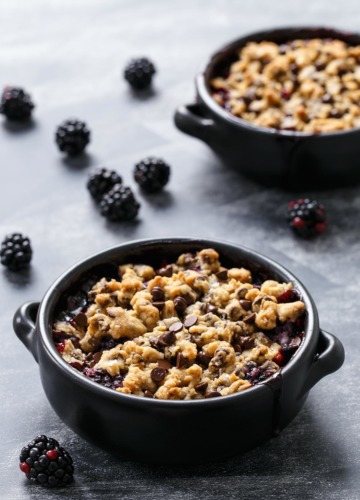
Crisp. Cobbler. Crumble. It’s a veritable culinary jumble. Can someone tell my why such similar desserts must distinguish themselves with completely different names? Not wanting...
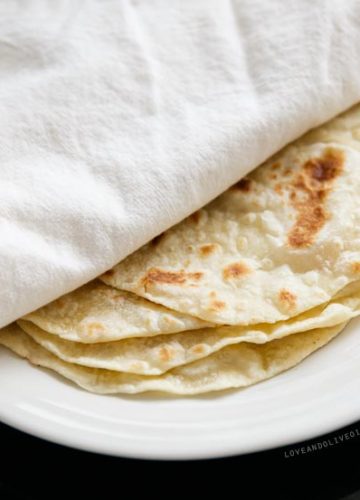
Following yesterdays Crispy Cauliflower Tacos, I thought I’d share our favorite recipe for homemade flour tortillas. This is one of those situations where store-bought simply...


©2007-2024 All Rights Reserved.
Love & Olive Oil® is a registered trademark of Purr Design, LLC.
Privacy Policy