Home from Japan and I am sakura obsessed. Not only are the blossoms beautiful, they are also edible, and around this time of year Japanese markets are a sea of pink. From mochi and rice balls to honey and candies, they’ve found a way to put sakura in just about everything.
I’m well on my way to doing the same.
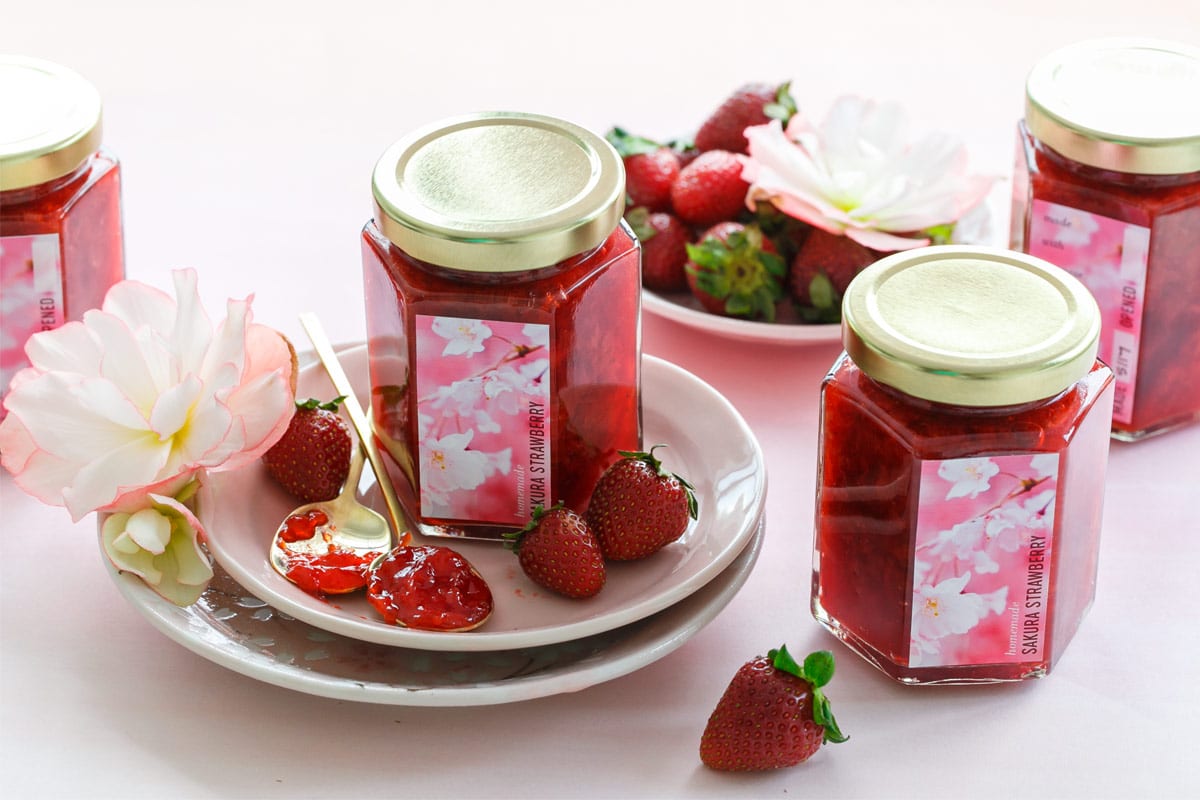
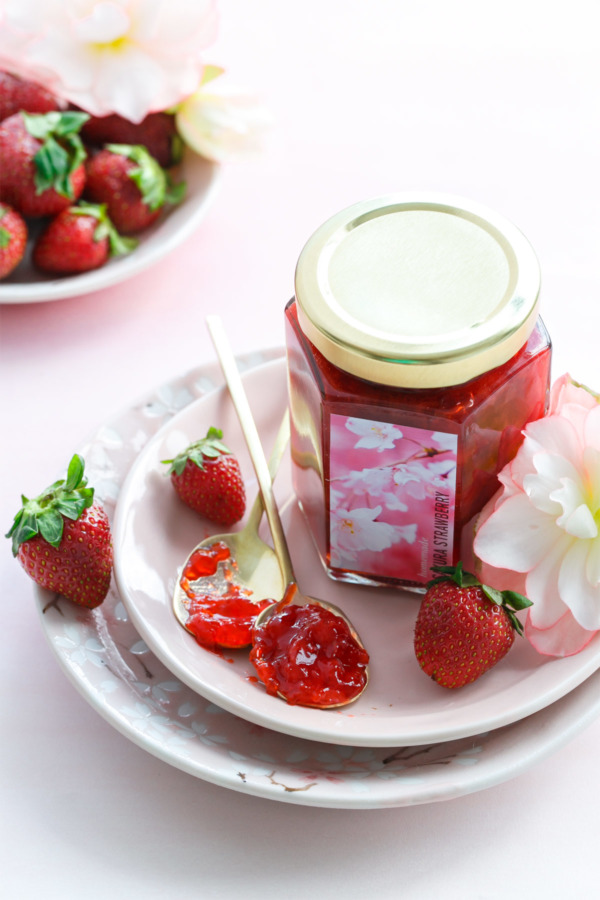
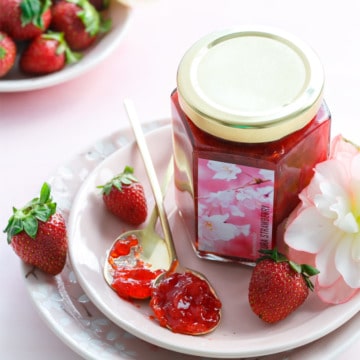
It shouldn’t be any surprise I started with jam… strawberry jam, to be exact. It’s springtime in Japan meets springtime in Nashville, and I love it.
Sakura is a tough flavor to pin down. It’s definitely not what you’d expect… more fruity rather than floral (not perfumey in the least like rose or orange blossom can be, which I guess is what I was expecting?) I’d describe it as having notes of almond and apricot, cherry fruit and bubblegum, not unlike a red fruit jelly bean. Also? Holiday spices. Nutmeg, perhaps? Which is strange and unexpected, but there it is. If you recall our Kit Kat tasting, Taylor thought the Sakura Matcha Kit Kat tasted like Eggnog. Which wasn’t all that far off, apparently.
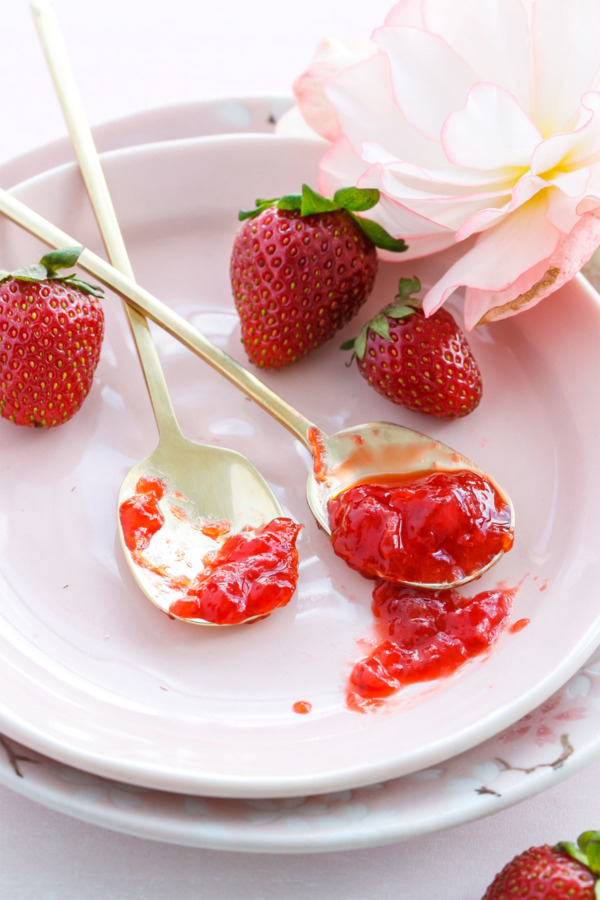
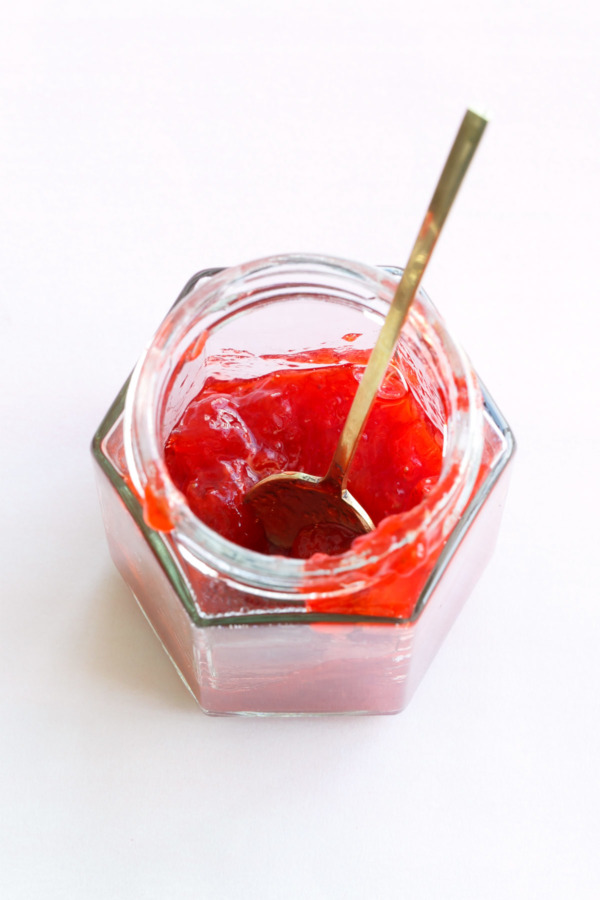
This ruby red jam is, at first, a classic strawberry. But those with acute tastebuds will notice there’s something else there too. You wouldn’t know it if you weren’t looking for it, but it’s definitely there, beneath the burst of berry, just waiting to be discovered.
Cherry blossom: the ultimate flavor lurker.
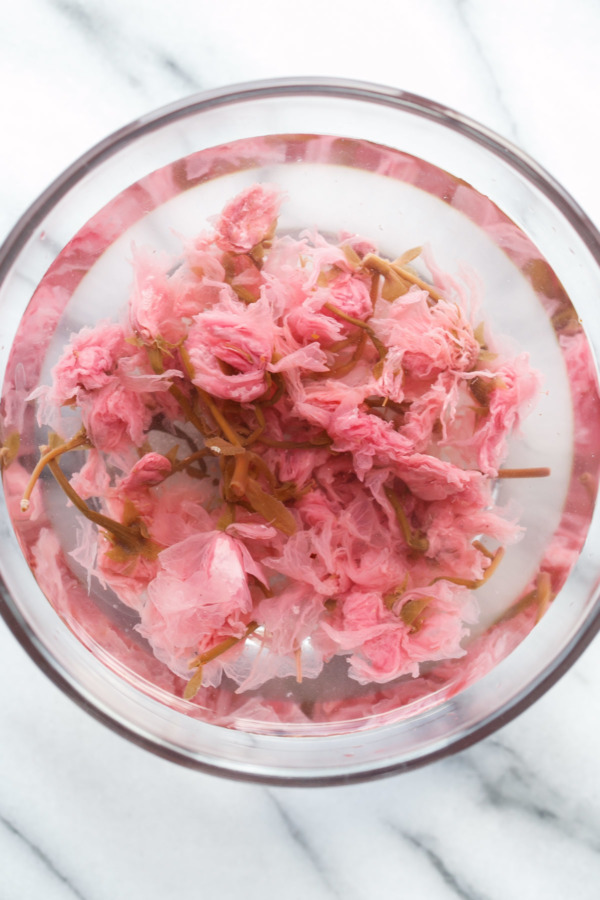
Having no access to fresh cherry blossoms (which would be my first choice for this recipe), I instead used pickled cherry blossoms, which are cured in salt and vinegar to preserve their delicate flavor. Rinsing and soaking the flowers overnight in water removes much of the excess salt, but a bit of marine-like brininess does come through in the final jam: and that’s not a bad thing.
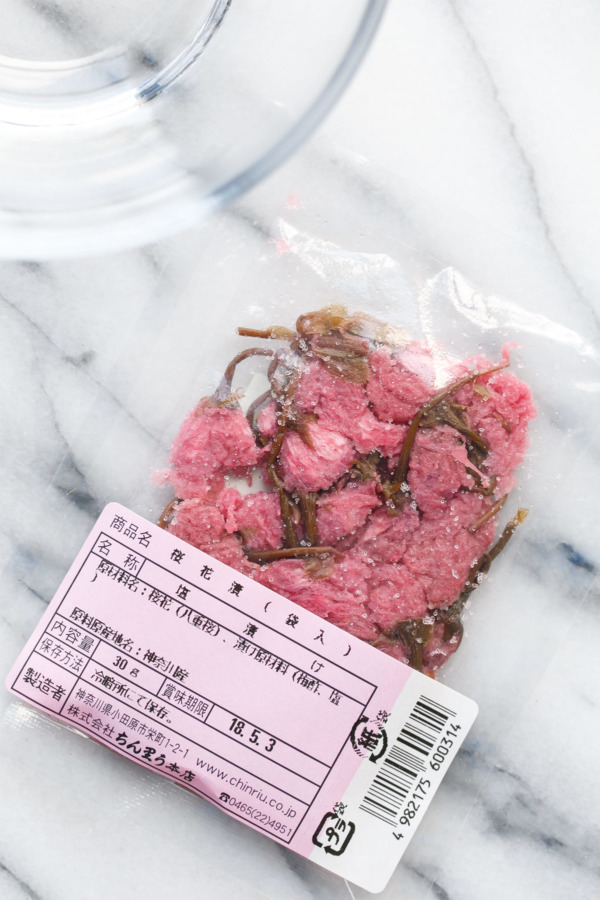
Kicking myself for not getting any pickled cherry blossoms when I was actually in Japan, I found some online for a reasonable price (though shipping wasn’t cheap, so stock up!) Amazon also has them in stock occasionally, but they are always significantly more expensive (as is the case with many grocery & gourmet products on Amazon… guess they have to pay for that free shipping somehow!) I imagine you could also find them if you have a decent Japanese market near you (lucky!)

Wanting to get the best sakura flavor, I also played with some cherry blossom extract as well as cherry blossom paste. Each produced a very unique jam with its own unique character, and while I wrote the final recipe using pickled blossoms, you could easily substitute one of the other products instead.
Pickled cherry blossoms – Maybe the easiest cherry blossom product to get ahold of. Even with a rinse and overnight soak, you can definitely taste the salt and vinegar in the final jam, although I didn’t find it unpleasant in the least. Subtle sakura flavor, but it’s there if you know to look for it.
Cherry blossom paste – I think this one made the most sakura-tasting jam, sweet and fruity with undertones of holiday spices. While the flavor was lovely when combined with the strawberries, it did make the jam a bit pasty in texture. For this variety, combine 1 8oz package cherry blossom paste with your mashed berries in the saucepan. Since the paste has some sugar in it, you’ll also want to reduce the added sugar to 3/4 cup.
Cherry blossom extract – The quickest way to get a really prominent, somewhat authentic sakura flavor. I found it almost medicinal smelling (think cherry Tylenol) but it definitely mellows out a bit once in the jam. Simply add 1 1/2 teaspoons of extract (I used Amoretti brand, other brands may require different quantities) to the strawberries along with the lemon juice and calcium water. Fragrant and strong, albeit slightly artificial cherry flavor.
Fresh cherry blossoms – If you’ve got them, use them! I am not sure how different varieties compare in terms of flavor, but if you can, collect approximately 2 cups of young blossoms, wash and rinse well, remove stems/stamens, and add directly to your smashed strawberries. I haven’t personally tested this (see: no access to fresh blossoms) so you may want to adjust the amount of petals to taste, but the general process should work.
There are still more cherry blossom products that I didn’t try including flakes, teas, and even powdered sakura leaf (the leaves apparently having the strongest sakura flavor). I haven’t tried them personally, but I imagine they could be used as well.
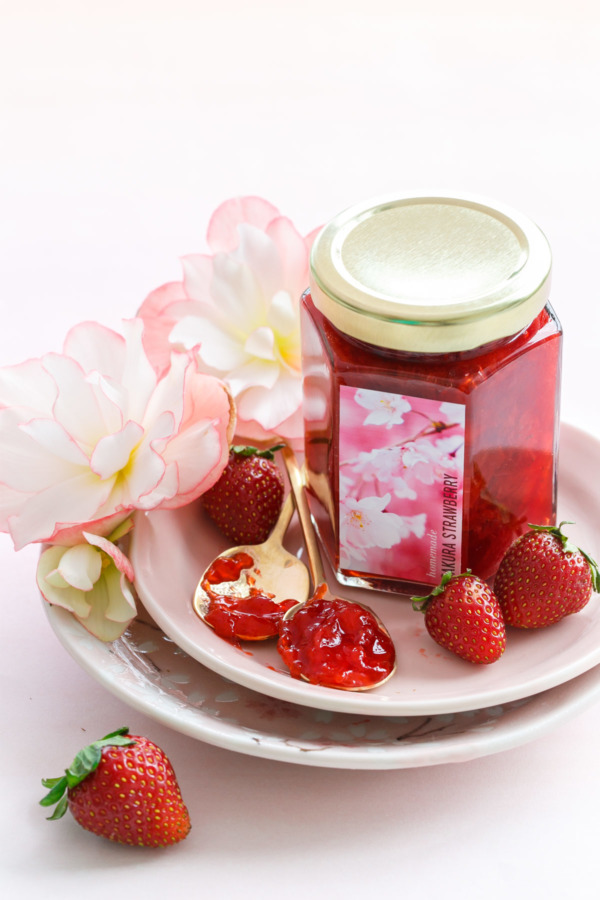
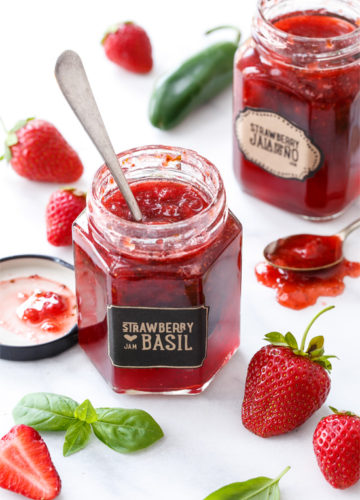
(And no, flower snobs, I realize those are not in fact, cherry blossoms [they’re begonias] but I needed a floral accent for this photo and, in the absence of a patio-friendly cherry tree [trust me, I’m looking!] they’ll just have to do. The flowers on the label, however, are in fact, cherry blossoms… a photo I took on our trip, if that counts for something.)
I fully admit I’m still a bit jammed out after last year’s 40-recipe jam-boree, but I couldn’t let strawberry season go by without making at least one batch (the same will likely be true for blueberries and peaches… I just can’t resist!)

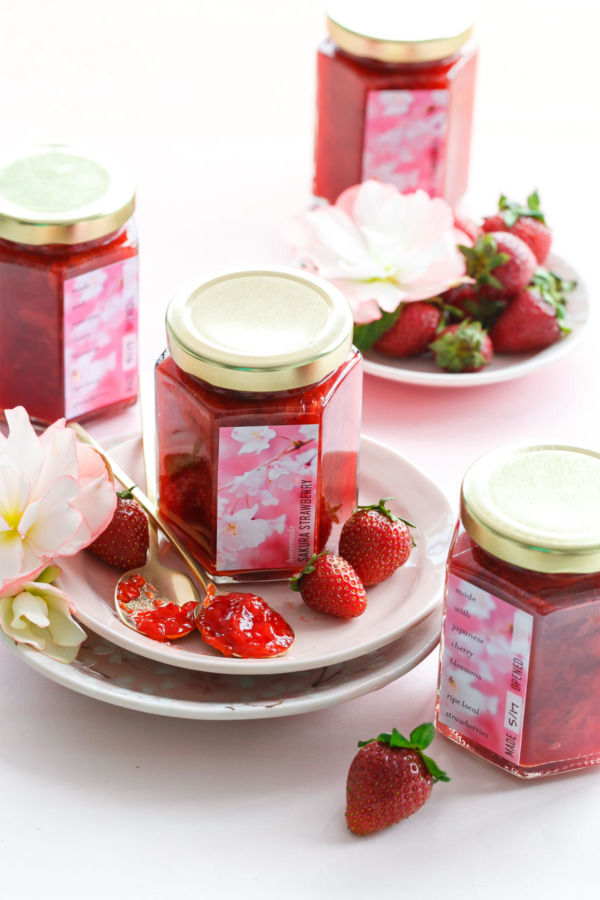
Sakura Strawberry Jam
Classic strawberry jam with a hint of salty-sweet sakura, or Japanese cherry blossoms. Pickled preserved cherry blossoms give this jam its unique flavor, but you could certainly use fresh if you have access to them.
Ingredients:
- One 30g package pickled cherry blossoms
- 1 3/4 pound (28 oz) fresh or frozen strawberries
- 1 cup granulated sugar
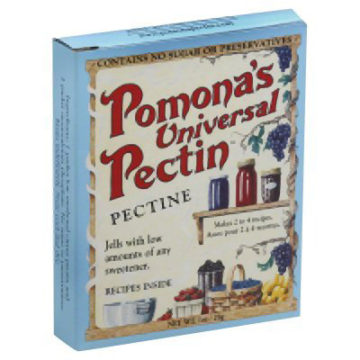
- 1 1/2 teaspoons Pomona’s Universal Pectin
- 1/4 cup lemon juice
- 1 1/2 teaspoons calcium water*
Directions:
- Pour cold water over cherry blossoms; let steep for 10 to 15 minutes, then strain and rinse. Pull of stems and discard. Return petals to a bowl with just enough cold, filtered water to cover the flowers. Cover and refrigerate overnight.
- Fill a large stock pot or canning pot 2/3 full with water; place a rack of some sort in the bottom and place over medium-high heat. Wash/sterilize your jars and submerge in water bath as it heats. The pot should be just about boiling by the time the jam is ready to go. Keep jars in hot (not boiling) water until ready to use.
- To prepare fruit, lightly mash strawberries in a bowl or saucepan. Measure out 3 cups of mashed fruit.
- In a bowl, whisk together sugar and pectin until evenly distributed.
- Pour prepared fruit into a large, heavy saucepan along with cherry blossoms and soaking liquid (approximately 1/2 cup worth), lemon juice, and calcium water. Bring to a full rolling boil, stirring occasionally.
- Whisk in sugar and pectin, stirring until completely dissolved and mixture returns to a full rolling boil. Remove from heat and ladle jam into hot jars, leaving 1/4-inch of head space. Wipe jar rims and screw on lids. Process in boiling water for 10 minutes, then transfer to a wire rack to cool completely. Check seals. Any unsealed jars should be refrigerated and used within 3 weeks.
* Calcium powder to make calcium water is included with the Pomona’s brand pectin. If you are substituting another pectin brand/type, please follow the instructions inside your pectin package, paying attention to the process and the proportion of fruit to sugar required by that type of pectin (different kinds of pectin will require different amounts of sugar to properly set).
Did you make this recipe?
Let us know what you think!
Leave a Comment below or share a photo and tag me on Instagram with the hashtag #loveandoliveoil.
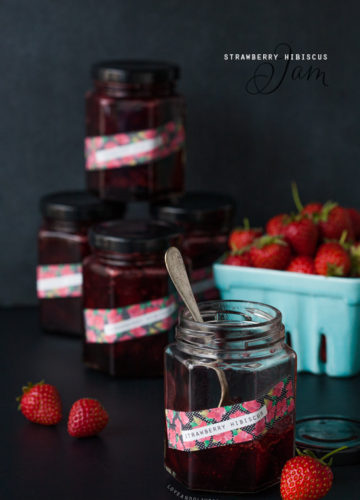
Bonus Printable Labels
Stop. Label time!
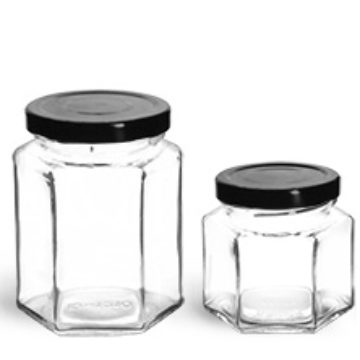
I designed these rectangle labels (with space to fill in the made/opened dates) for both front and back of these 6oz hex jars, but they’d also work on smooth-sided mason jars as well.
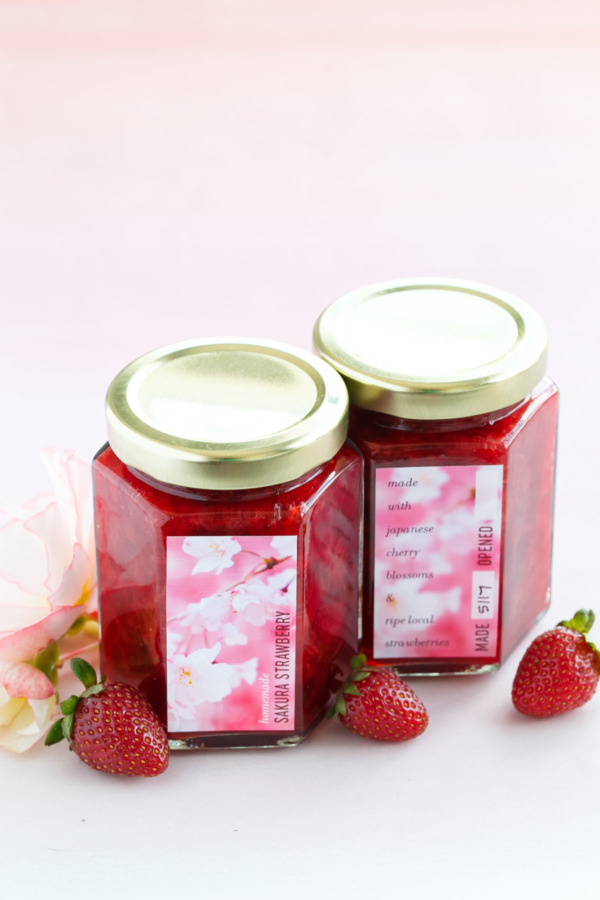
The downloadable PDF file contains 10 labels per page, both front and back sides.
To use, simply download the printable file by completing the form below. Print your labels onto full-sheet sticker paper (I love this weatherproof matte label paper), cut out shapes, and apply directly to the (canned and cooled) jars.


thanks a lot for sharing this recipe i made this jam and it was very tasty