Taylor always talks about the “good old days” back in elementary school, when he would scour car seats, jacket pockets, couch cushions and the school grounds hoping to find to stray change. When he managed to scrounge together two quarters, he’d head straight to the school lunch counter and buy himself a two-pack of Swiss cake rolls. This constituted a really good day for young Taylor.
He doesn’t eat them often nowadays, knowing that they are filled with who-knows-what-kind-of-preservatives, but that doesn’t stop him from fondly reminiscing of his childhood snack and the effort it took to get them.
I decided to treat his inner child and bake him a giant homemade version of this nostalgic treat.
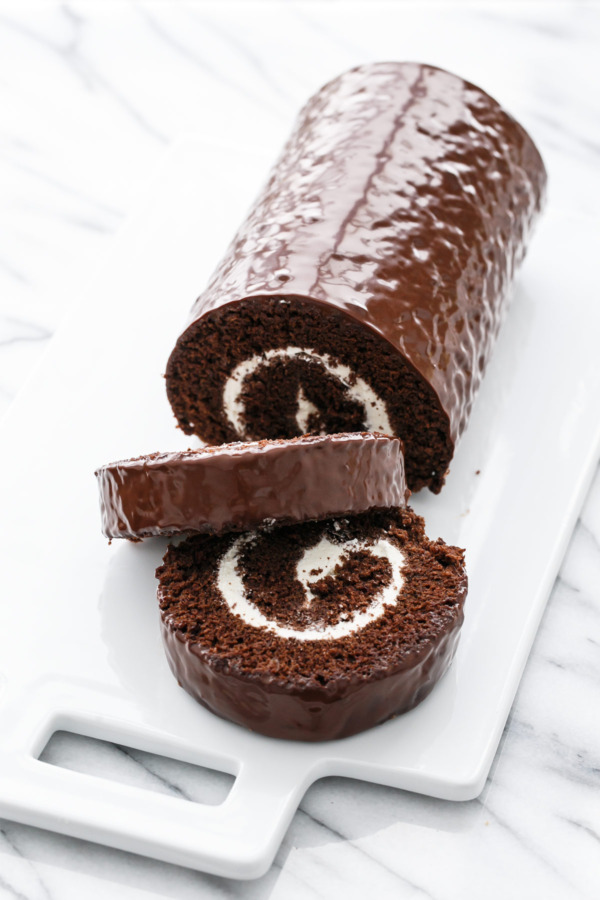
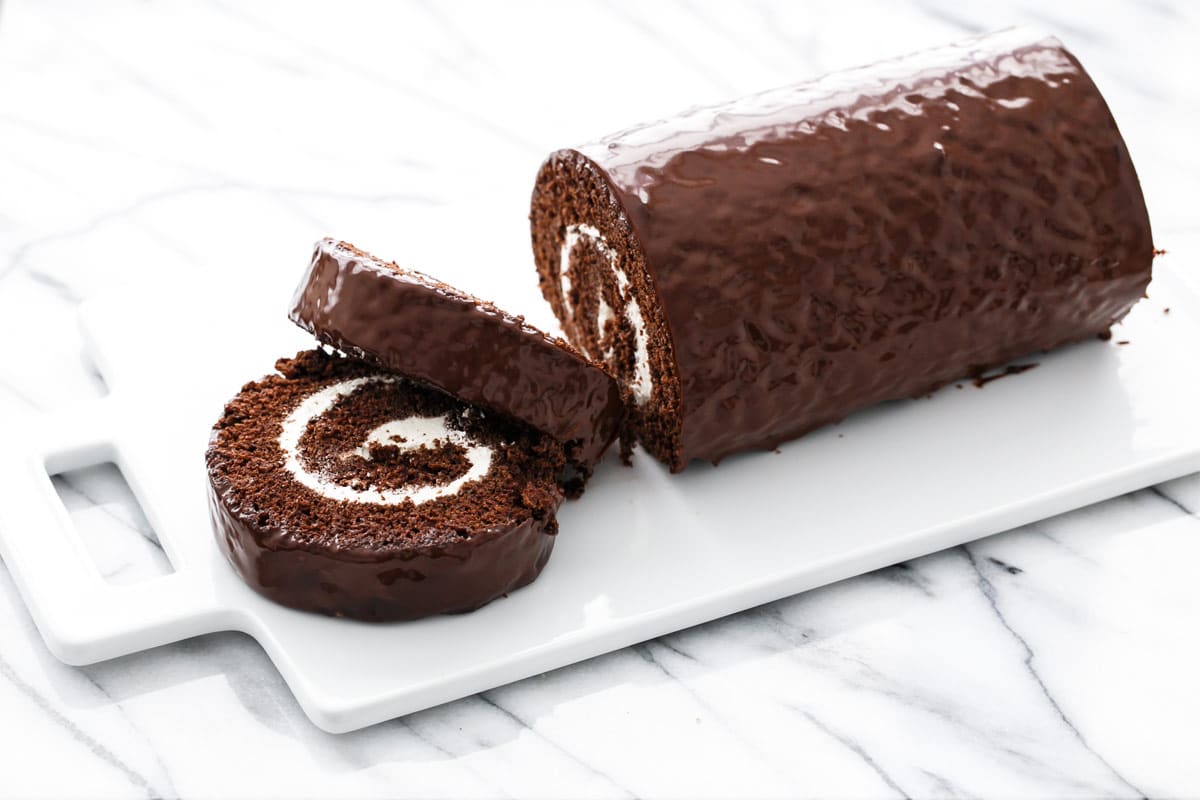
(And boy, you should have seen his face light up when I sliced into this baby!)
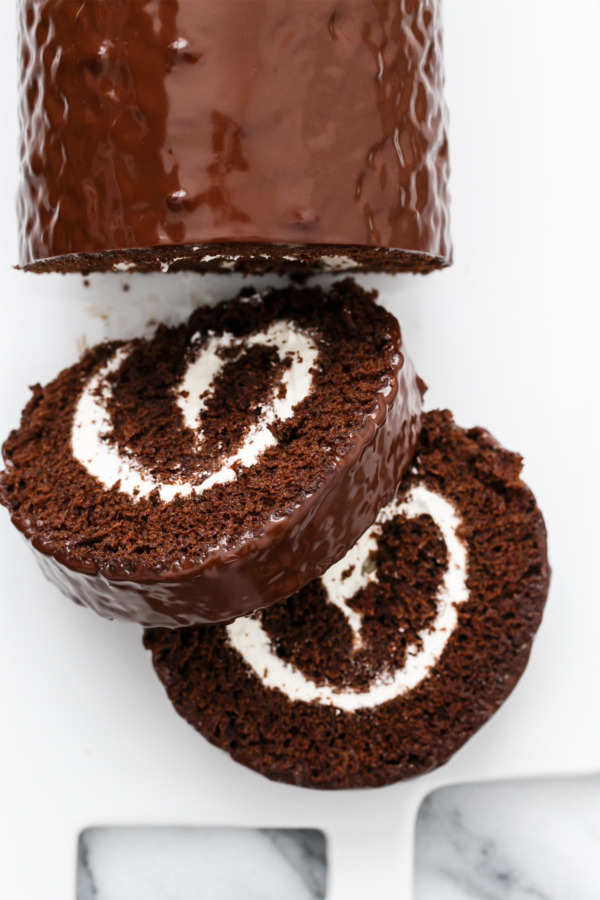
It’s decadence with a touch of nostalgia: dark chocolate cake rolled up with a fluffy marshmallow filling and coated with a dark chocolate glaze. Call it a grown up version of the snack-size treat, both bigger in size but also less sweet and richer than the pre-packaged version.
It might look complicated, but with a few simple tricks it’s really quite straightforward, ready in under 2 hours from start to finish, and not to mention oh-so-impressive.
Most roll cake recipes call for a sponge cake, which separates out the egg whites and beats them to peaks. This recipe aerates the eggs whole, which adds lightness and lift to the final cake but without the need to separate the eggs (and clean two bowls). The rich chocolate flavor in the cake comes in two forms, melted semisweet chocolate and Dutch-processed cocoa powder, for an ultra rich and decadent chocolate flavor.
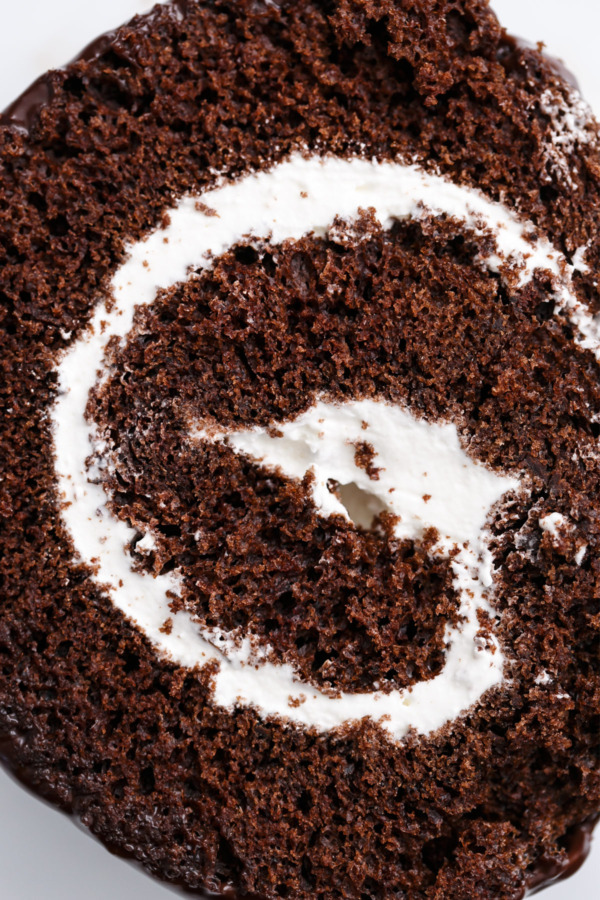
The fluffy marshmallow frosting is light and airy and downright delightful. It’s a bit on the sweet side on its own, but when paired with the dark chocolate cake and bittersweet glaze, it balances out the sweetness perfectly.
That’s one of my favorite parts about this homemade version… it’s less sweet, less cloying, and the chocolate flavor is much more refined and mature.
I can’t think of a better way to satisfy your grown-up sweet tooth… and make your inner child giddy with delight at the same time.
Giant Swiss Cake Roll
Dark chocolate cake rolled up with a fluffy marshmallow filling and coated with a dark chocolate glaze; it’s a grown up version of the snack-time favorite.
Ingredients:
For Cake:
- 3/4 cup (3.5 oz) all-purpose flour
- 1/4 cup (.75 oz) dark or dutch processed cocoa powder
- 1/2 teaspoon baking powder
- 1/2 teaspoon baking soda
- 1/2 teaspoon kosher salt
- 4 large eggs, room temperature
- 3/4 cup granulated sugar
- 1 teaspoon vanilla extract
- 1/2 teaspoon instant espresso powder
- 1/4 cup unsalted butter, cut into cubes
- 2 ounces dark chocolate (60-70%), finely chopped
For Filling:
- 6 tablespoons unsalted butter, room temperature
- 2 tablespoons unflavored vegetable shortening, room temperature
- 8 ounces marshmallow fluff
- 1 cup powdered sugar, sifted (more as needed)
- 1/4 cup heavy cream
For Glaze:
- 4 ounces dark chocolate (60-70%), finely chopped
- 3/4 cup heavy cream
- 1 tablespoon salted butter, cut into cubes
Directions:
- Preheat oven to 350ºF. Lightly butter a 10-by-15-inch jelly roll pan; line bottom with parchment paper and lightly butter parchment.
- Sift together flour, cocoa powder, baking powder, baking soda, and salt and set aside.
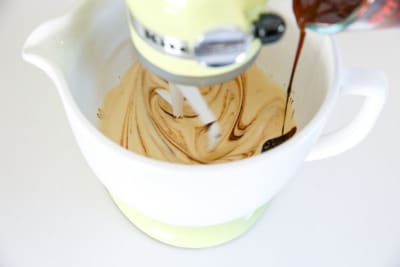
- In a stand mixer fitted with the paddle attachment, beat eggs and sugar until thick and pale, 3 to 5 minutes. Mix in vanilla and espresso powder.
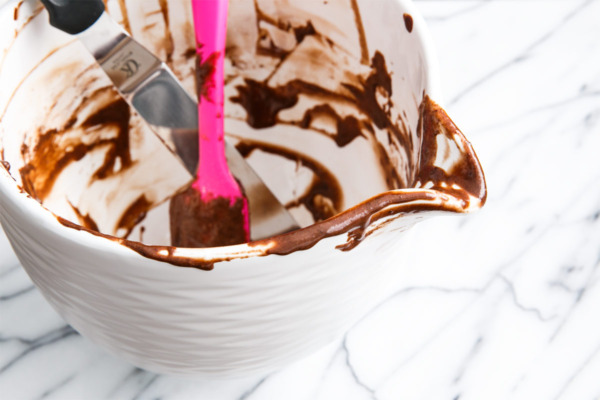
- Gently melt butter and chopped chocolate in the microwave for 60 to 90 seconds on medium power, stirring every 30 seconds. Stop heating when the chocolate is almost melted, the residual heat should be enough to melt it the rest of the way.
- With the mixer running on low speed, drizzle in the melted chocolate mixture until evenly incorporated, scraping down the sides of the bowl as necessary.
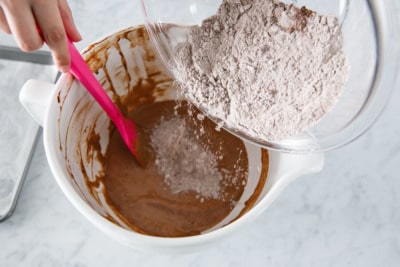
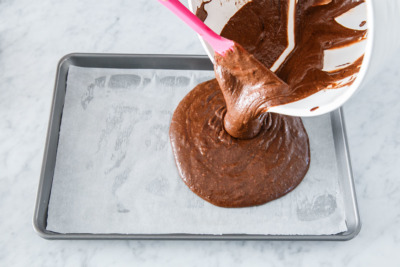
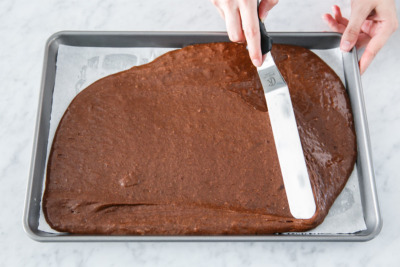
- Sprinkle dry ingredients over top, and fold into batter using a large rubber spatula. Spread into prepared pan, using an offset spatula to spread the batter evenly into the corners.
-
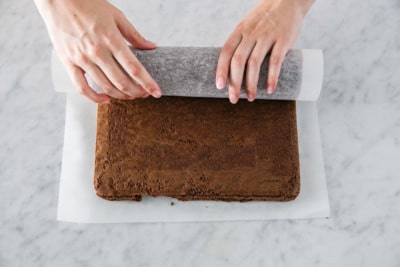
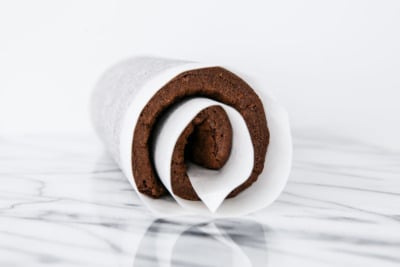
Bake for 10 to 12 minutes or until the cake springs back when touched with a fingertip. Remove from oven and let cool for 2 minutes, then turn out the cake upside down onto a piece of parchment paper sprinkled lightly with powdered sugar. You can also use a clean dish towel. Peel away parchment paper from bottom of cake, then gently roll up cake starting with the short side. Doing this while the cake is still warm will give the cake some ‘muscle memory’ and allow it to be rolled with the filling without cracking. Set the rolled-up cake seam-side down, and let cool completely, at least 30 minutes.
-
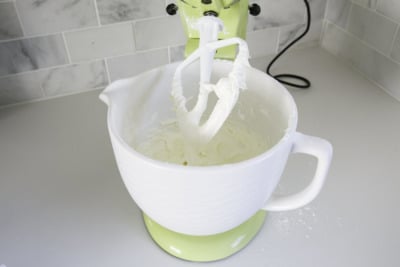
While cake is cooling, prepare the filling. In the bowl of your stand mixer fitted with the paddle attachment, beat butter and shortening together until fluffy. Add marshmallow fluff and beat until evenly incorporated, then add sifted powdered sugar, beating on medium speed until fluffy, scraping down the sides of the bowl as needed. Add heavy cream and mix until incorporated, then increase speed to medium-high and beat for 2 to 3 minutes or until light and fluffy. If the filling is still rather loose, you can add 1/4 to 1/2 cup more powdered sugar as needed to achieve desired consistency.
-
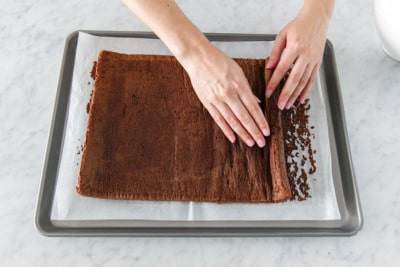
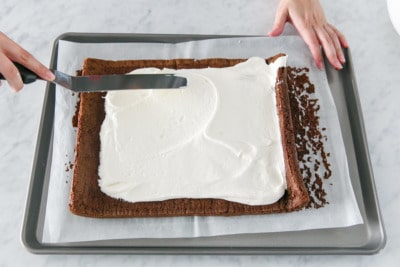
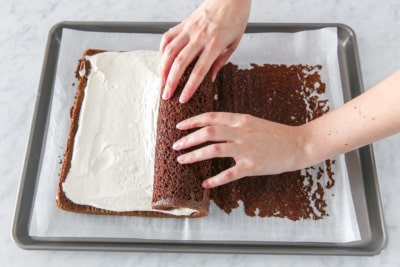
Gently unroll cooled cake, peeling back parchment paper as you go. Spread a 3/8-inch thick layer of filling over the top of the cake. Don’t make this layer too thick or you’ll find yourself with a big old mess when you try to roll it up (you may not need all of the filling). Starting with the same short side as before, carefully roll up the cake, trying not to let the filling squish out too much. Set seam side down, then refrigerate for at least 30 minutes to allow the filling to set up a bit (this will make it much easier to slice later).
-
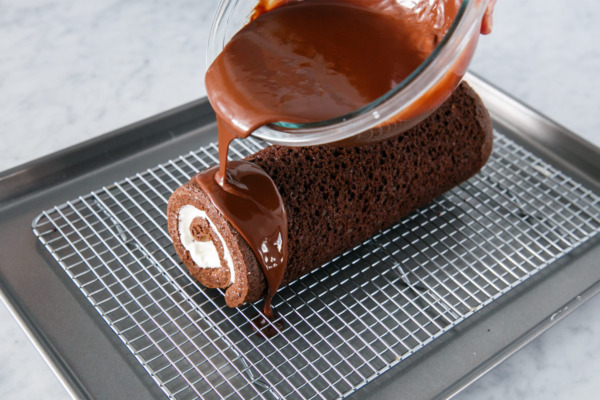
Meanwhile, to make the glaze, place chopped chocolate in a heat-proof bowl. Warm cream in a small saucepan over medium-low heat until it just begins to bubble around the edges (do not let it boil). Pour evenly over chopped chocolate; let sit for 30 seconds, then gently whisk, in concentric circles starting in the very center, until chocolate is melted and mixture is smooth. Whisk in butter, one cube at a time, until melted and completely smooth.
-
Transfer cake roll to a wire rack set inside a sheet pan (this will catch any excess glaze). Pour glaze over top, spreading as needed to get any remaining exposed areas, until top and sides of cake are completely covered in glaze.
-
Slice cake with a large chef’s knife, using a single clean slicing motion (do not saw the knife back and forth). Wipe knife clean between slices.
-
Cake is best enjoyed the day it is made, but will also keep in the refrigerator, lightly covered with plastic wrap, for up to 3 days. Let sit room temperature for 30 minutes before serving.
Did you make this recipe?
Let us know what you think!
Leave a Comment below or share a photo and tag me on Instagram with the hashtag #loveandoliveoil.
This recipe was created in partnership with KitchenAid®. All opinions are my own. Be sure to share your take on this Giant Swiss Cake Roll recipe on Instagram using #MadeWithKitchenAid for a chance to be featured on the @KitchenAidUSA account!