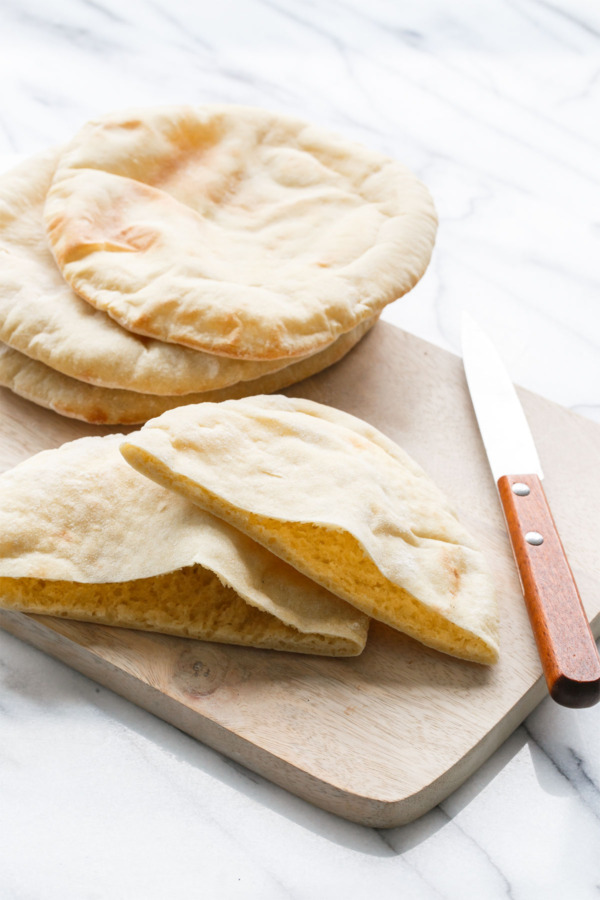
Have you ever wondered where the pocket in the pita comes from? I mean, how does it get there?
Magic.
No, really.
It’s mesmerizing, isn’t it?
Seriously though, I could watch this on repeat all. day. long.
It’s almost as therapeutic as kneading bread dough (big edible stress ball, right? Or maybe that’s just me).
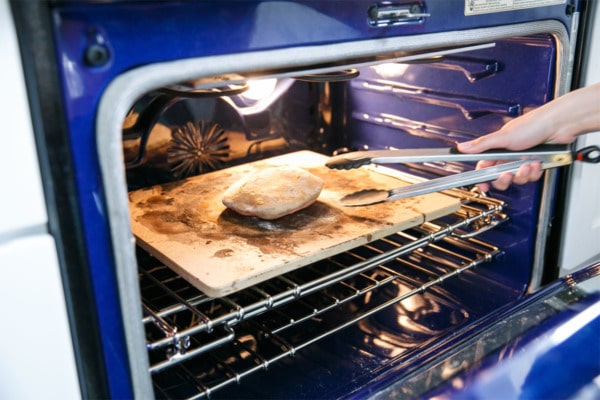
Homemade pita is surprisingly easy, and you’ll be in awe when your flat little pieces of dough magically puff up in the oven like little yeasty clouds. They’re as entertaining to make as they are to eat.
Homemade pita is like night and day when compared to the stale and flavorless store bought versions. Made with mostly all-purpose flour but with a bit of whole wheat for added texture and flavor (and you can increase the proportion of whole wheat flour too, up to 1 cup, as long as the overall amount of flour stays the same), plus a little bit of honey for added sweetness.
Trust me, the next time you make Gyros or (my favorite) Greek Turkey Tacos, try using homemade pita instead. It only takes a little bit of extra time and is so worth the extra effort.

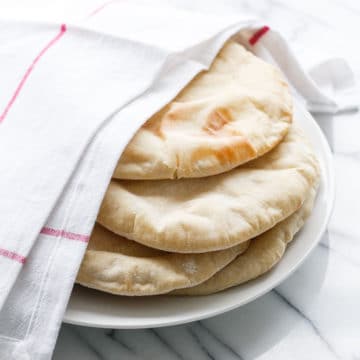
Homemade Pita Bread
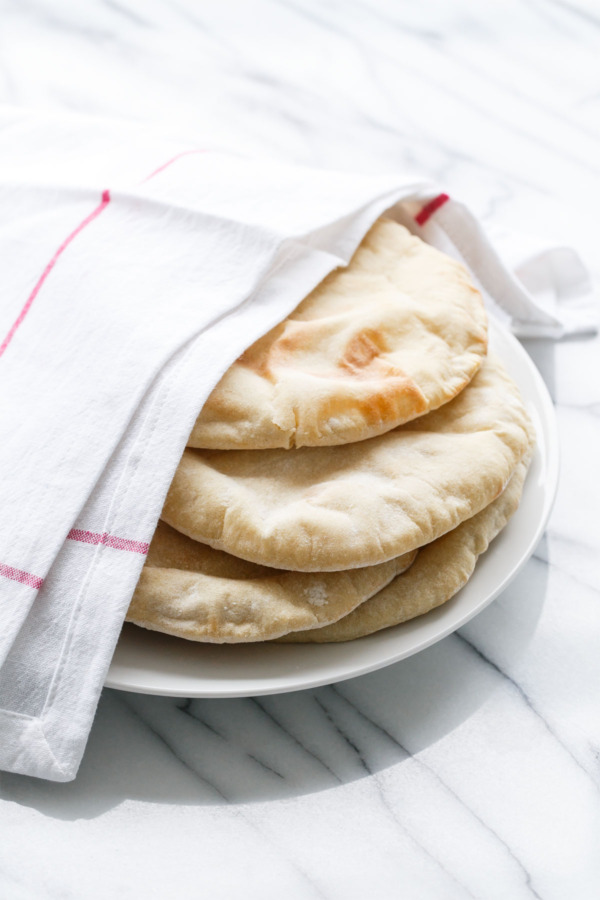
Homemade pita bread is a true revelation: soft and fluffy and full of yeasty flavor. Watch like magic as they puff up in the oven!
Ingredients:
- 2 cups (250g) all-purpose flour, plus more as needed
- 1/2 cup (75g) whole wheat flour
- 1 cup lukewarm (95-100ºF) water
- 1 tablespoon honey
- 2 teaspoons active dry yeast
- 1 tablespoon extra virgin olive oil
- 1 teaspoon kosher salt
Directions:
- Whisk together all-purpose and whole wheat flours until evenly incorporated. Set aside.
- Place lukewarm water in the bowl of your stand mixer fitted with the paddle attachment. Stir in honey, then sprinkle yeast evenly over top. Stir to combine. Add 1/2 cup of sifted flour mixture, then mix on low speed until all flour is incorporated (it will be a little chunky, that’s ok). Let sit in a warm location for 15 minutes or until frothy.
- Add remaining flour along with olive oil and salt and mix with the paddle attachment until mixture comes together in a shaggy dough. Replace paddle with dough hook and knead on low speed for 5 to 7 minutes or until dough is smooth and pulls off the sides of the bowl (it will still stick to the bottom). Scrape onto a generously floured surface and knead in another 2-4 tablespoons of flour until dough comes together in a smooth, yet still slightly tacky, ball.
- Lightly coat a clean bowl with olive oil. Place dough in bowl, flipping to coat all sides with oil. Lightly cover with plastic wrap or a clean dish towel and let sit in a warm location until doubled in volume, about 1-2 hours.
- Position oven rack in the bottom 1/3 of your oven; preheat to 500ºF. Place a pizza stone or upside-down baking sheet on the rack to preheat as well.
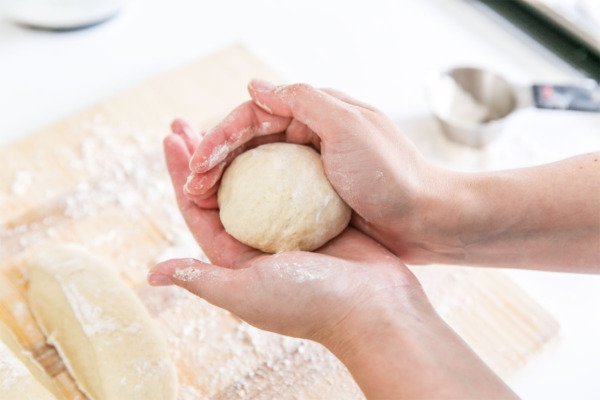
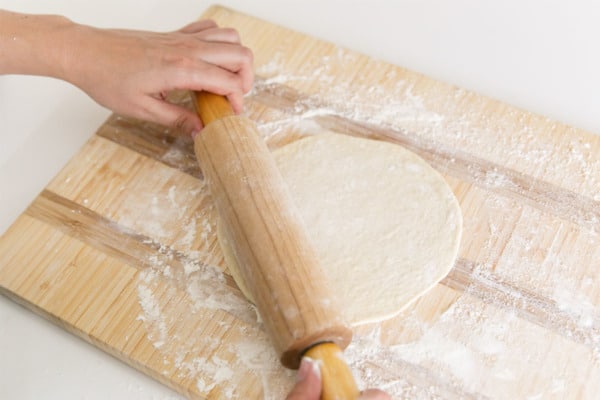
- Turn dough out onto a lightly floured surface and shape into a uniform log. Using a pastry cutter or a knife, cut into 8 even portions. Shape each portion into a ball, then arrange on a lightly floured surface. Cover with a slightly damp dish towel and a layer of plastic wrap; keep dough balls covered as you work.
- Working with one pita one at a time, lightly sprinkle dough with flour and roll into a thin circle, approximately 1/4” thick. Carefully transfer to hot pizza stone. Bake for 2 to 3 minutes, or until pita has bubbled and puffed and bottom is lightly golden brown, then carefully flip with tongs and bake for 1 to 2 minutes more. Bake slightly longer if you prefer a crispier pita.
- Remove pita from oven using tongs (be careful, the steam inside the pocket is very hot). Place pita on a plate and immediately cover with a clean dish cloth. Let sit for a few minutes, then transfer to a zip-top freezer bag. This will keep the pita warm and soft while you bake the rest. Repeat with remaining dough balls.
- Serve warm, or store in a zip top bag in the refrigerator for 2 to 3 days. You can also freeze fresh pita for later use.
Did you make this recipe?
Let us know what you think!
Leave a Comment below or share a photo and tag me on Instagram with the hashtag #loveandoliveoil.
This recipe was created in partnership with KitchenAid®. All opinions are my own.