Usually, I’m a thin crust kind of girl. Give me thin and crispy over thick and doughy any day. But something about a pizza made in a cast-iron skillet sounded incredibly appealing.
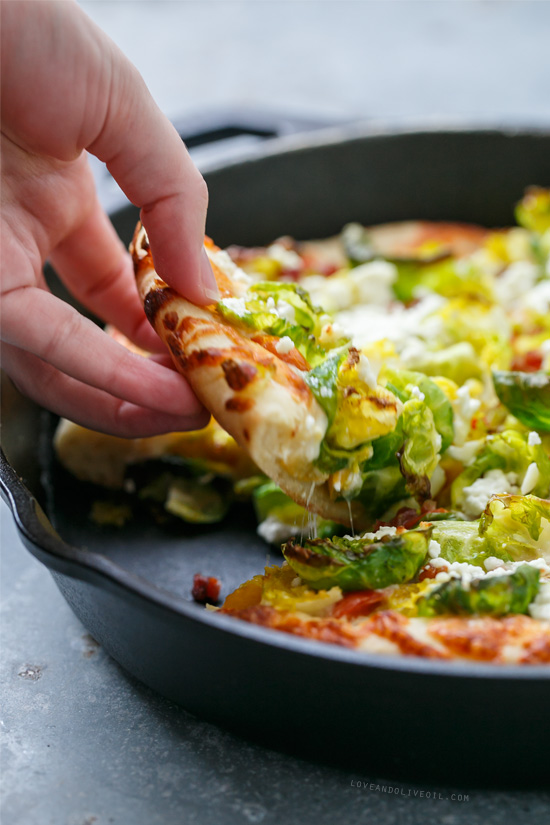
In this case, the preheated skillet serves the same purpose as a hot pizza stone, resulting in an unusually crispy crust that you don’t usually find on pizzas with thicker crusts (and probably why I don’t usually like them very much). This is the kind of crust that everyone will adore. It’s both crispy (to please the thin-crust aficionados) and chewy (for the deep-dish lovers).
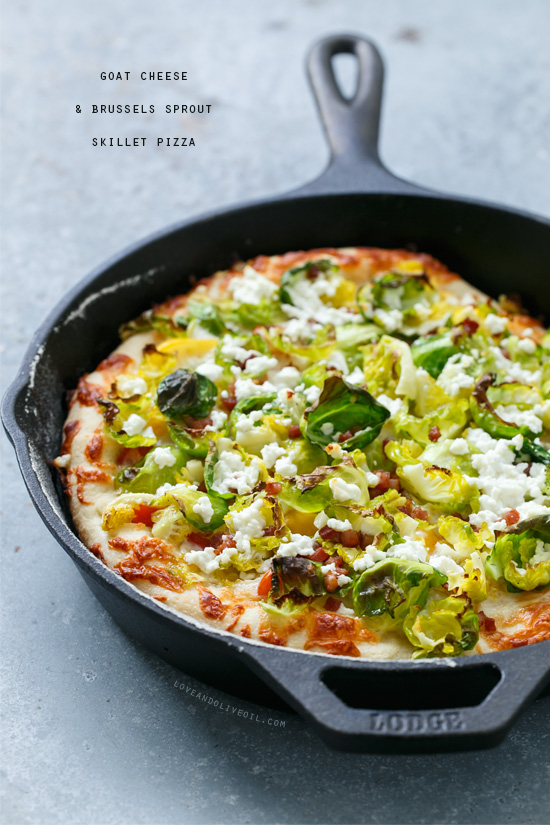
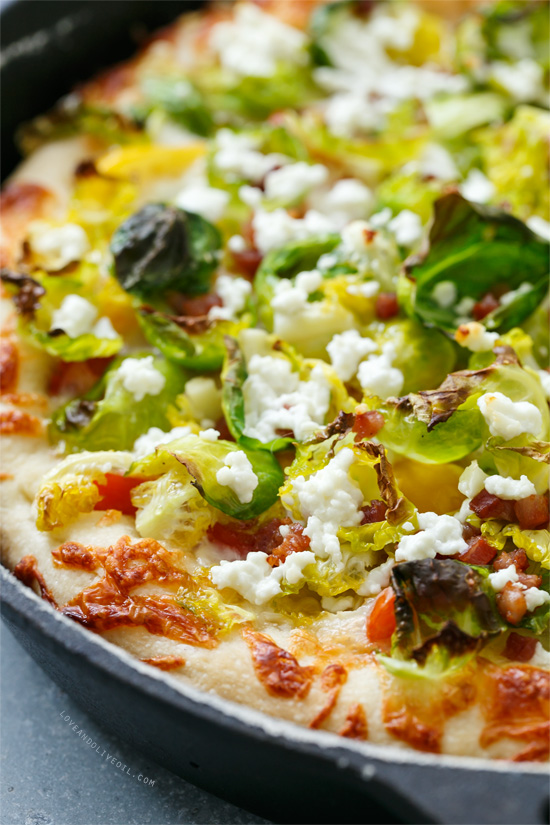
There is no marinara sauce on this pizza. Instead, the cherry tomatoes soften into a rustic tomato sauce of sorts; perhaps the quickest “pizza sauce” ever. Topped with melted mozzarella cheese, cubes of salty pancetta, and leaves of Brussels sprouts that get blackened and crispy on the edges and tender in the middle. Oh, and goat cheese.
Because everything is better with goat cheese.
The toppings made for an amazing combination that we both devoured. Despite stuffing himself silly, Taylor (ever the buzzkill) declared that, while tasty, this was not pizza. In fact, anything without pepperoni and marinara sauce shouldn’t be considered pizza.
I, however, have a more flexible definition: crust and cheese being the only two real requirements, without which I’d consider something more of a flatbread with toppings.
But this, this is most definitely a pizza. And a pretty awesome one at that.
Goat Cheese and Brussels Sprout Skillet Pizza
Ingredients:
For Crust:
- 1 1/8 cups warm water
- 3 teaspoons active dry yeast
- 1 tablespoon honey
- 1 tablespoon olive oil
- 3 cups all-purpose flour
- 1 teaspoon salt
- (this will make enough dough for two pizzas)
For Toppings:
- 1 cup mixed cherry tomatoes, halved
- 1/2 cup shredded mozzarella cheese
- 4 ounces Brussels sprouts, cored, trimmed, and leaves separated
- 1 tablespoon olive oil, plus more for brushing
- 1/4 cup pancetta cubes, cooked until crisp
- 1/4 cup crumbled goat cheese
Directions:
- In a large bowl or the bowl of a stand mixer, combine water, yeast, honey, olive oil and mix until yeast is dissolved. Let sit about 10 minutes or until frothy. Add 2 1/2 cups of the flour and salt, and stir or mix with a dough hook on low speed until the dough comes together. With the dough hook or by hand, work in the remaining 1/2 cup flour, kneading until smooth, about 5 minutes. Brush bowl with olive oil and place the dough inside, turning to coat. Cover with a clean tea towel and let sit in a warm place until doubled in size, about 1 1/2 to 2 hours.
- Divide dough in half. If you are only making one pizza, place remaining dough in a zip-top bag. Refrigerate for up to 2 days or freeze until ready to use; thaw overnight before rolling and baking.
- Preheat oven to 450 degrees F. Preheat a 9 or 10-inch cast iron skillet in the oven or on the stovetop over medium heat.
- On a lightly floured pizza peel or cutting board, press or roll dough into a 10-inch round the same size as the base of your skillet. Take care that your surface is floured enough so the dough will slide around freely. Lightly brush edges with olive oil. Spread tomato halves in a single layer over dough, and sprinkle with mozzarella cheese. Gently slide the dough into the hot skillet. Bake for 10 minutes or until cheese is melted.
- Toss Brussels sprouts with 1 tablespoon olive oil, salt, and pepper. Remove partially-baked pizza from the oven (be careful, the handle will be very hot!) and top with a mound of Brussels sprouts. Sprinkle with pancetta and goat cheese and return to oven for another 8 to 10 minutes, or until crust is golden brown and Brussels sprouts are crispy and browned around the edges. Remove from oven and let cool for 5 to 10 minutes before sliding onto a cutting board and slicing into serving size wedges.
Adapted from How Sweet it Is.
All images and text ©Lindsay Landis / Love & Olive OilDid you make this recipe?
Let us know what you think!
Leave a Comment below or share a photo and tag me on Instagram with the hashtag #loveandoliveoil.